
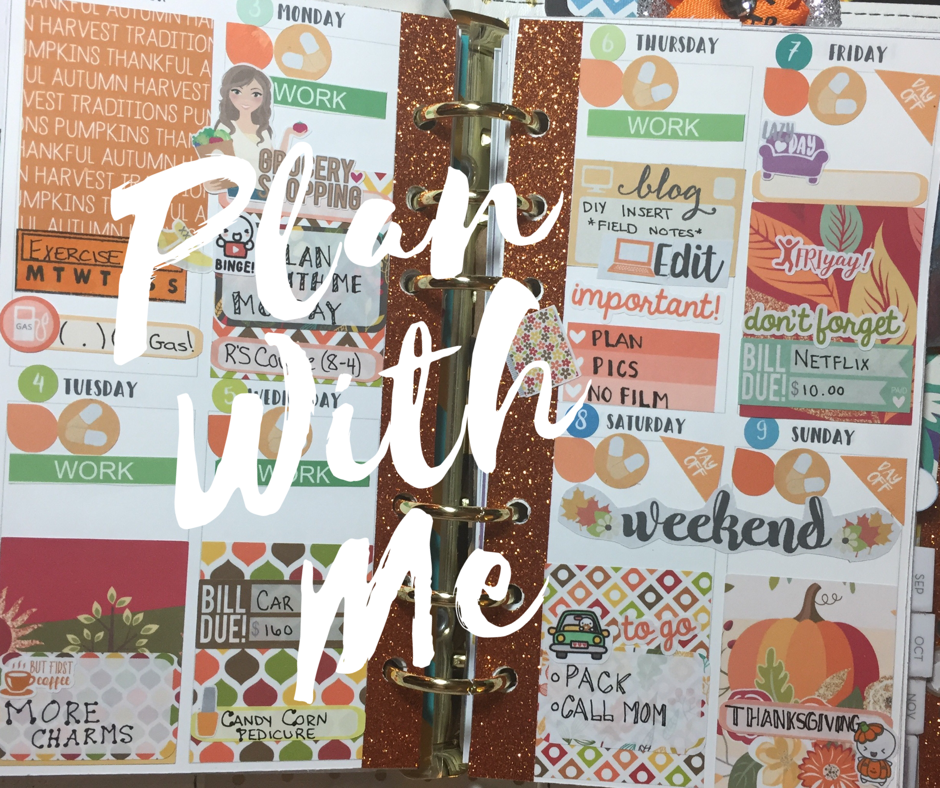
It's Halloween again! Is everybody ready? It is so weird that this year Halloween falls on a Monday. And I saw weird because I don't really want to Plan after Halloween with Halloween stickers, but I'm forced to.
(By forced I mean I'm too OCD to use two different kits on one week!) so I actually used a printable kit from Lace and Logos on Etsy for the week before Halloween, and then I'm using this Elle Plan kit for actual Halloween!
(By forced I mean I'm too OCD to use two different kits on one week!) so I actually used a printable kit from Lace and Logos on Etsy for the week before Halloween, and then I'm using this Elle Plan kit for actual Halloween!
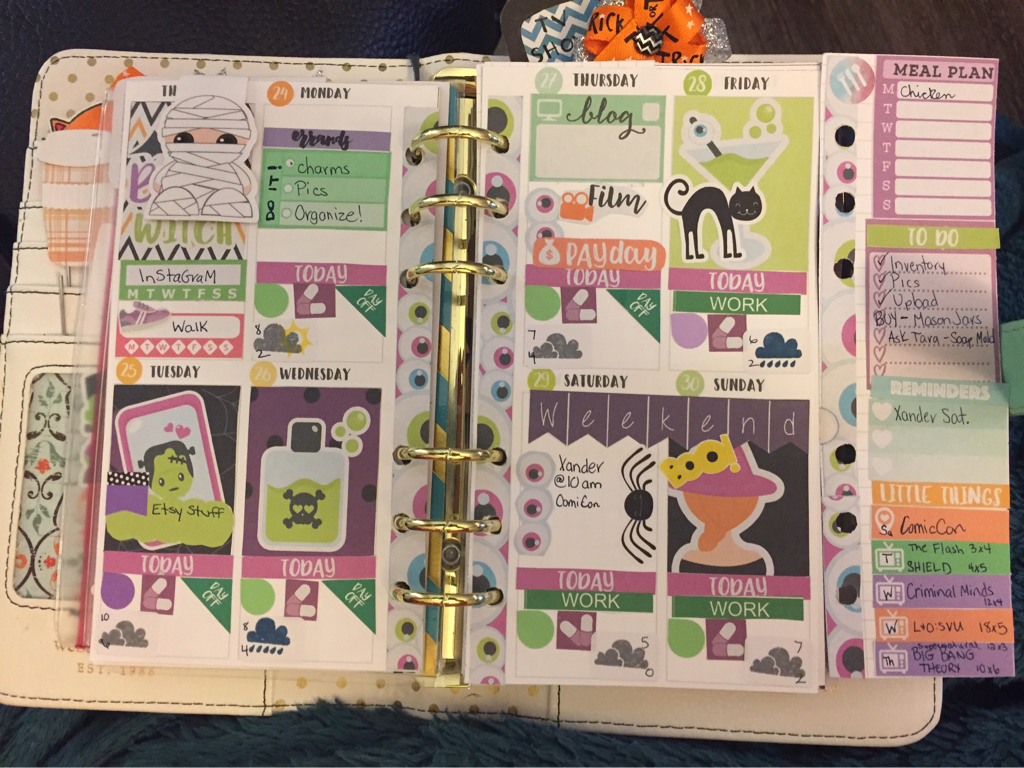
The Lace and Logos Kit - Check my Instagram for tags to sticker companies
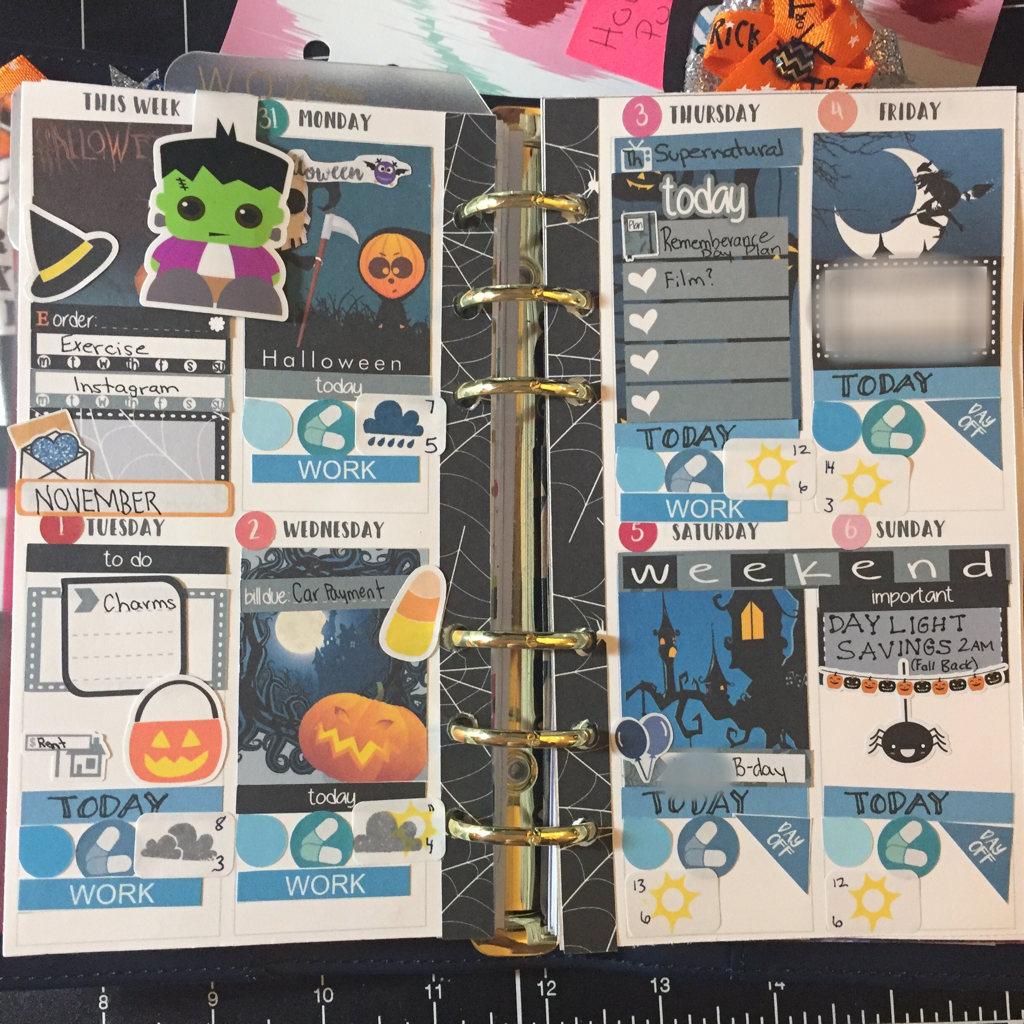
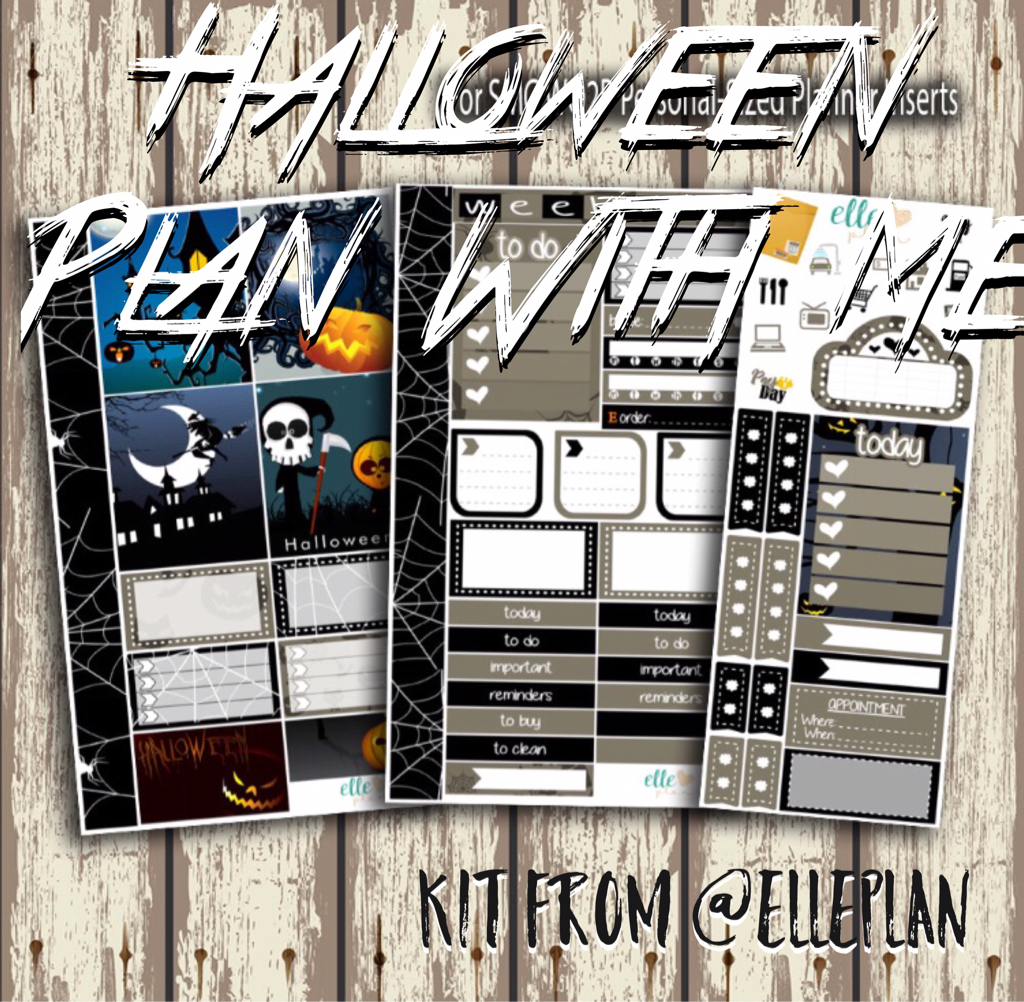
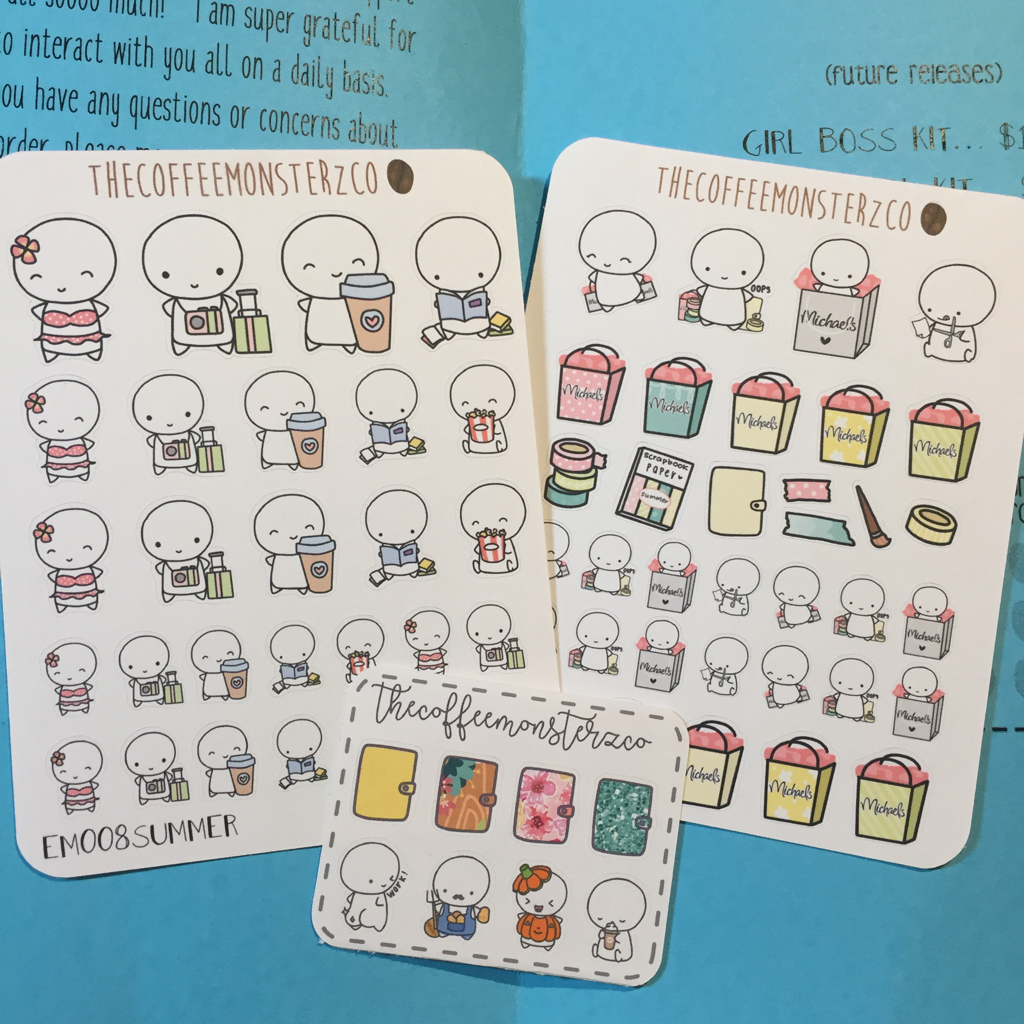
The Elle Plan kit
Thanks for watching along as I Plan! I hope that this makes all of you out there want to try a personal planner and these great kits!
Happy Planning!
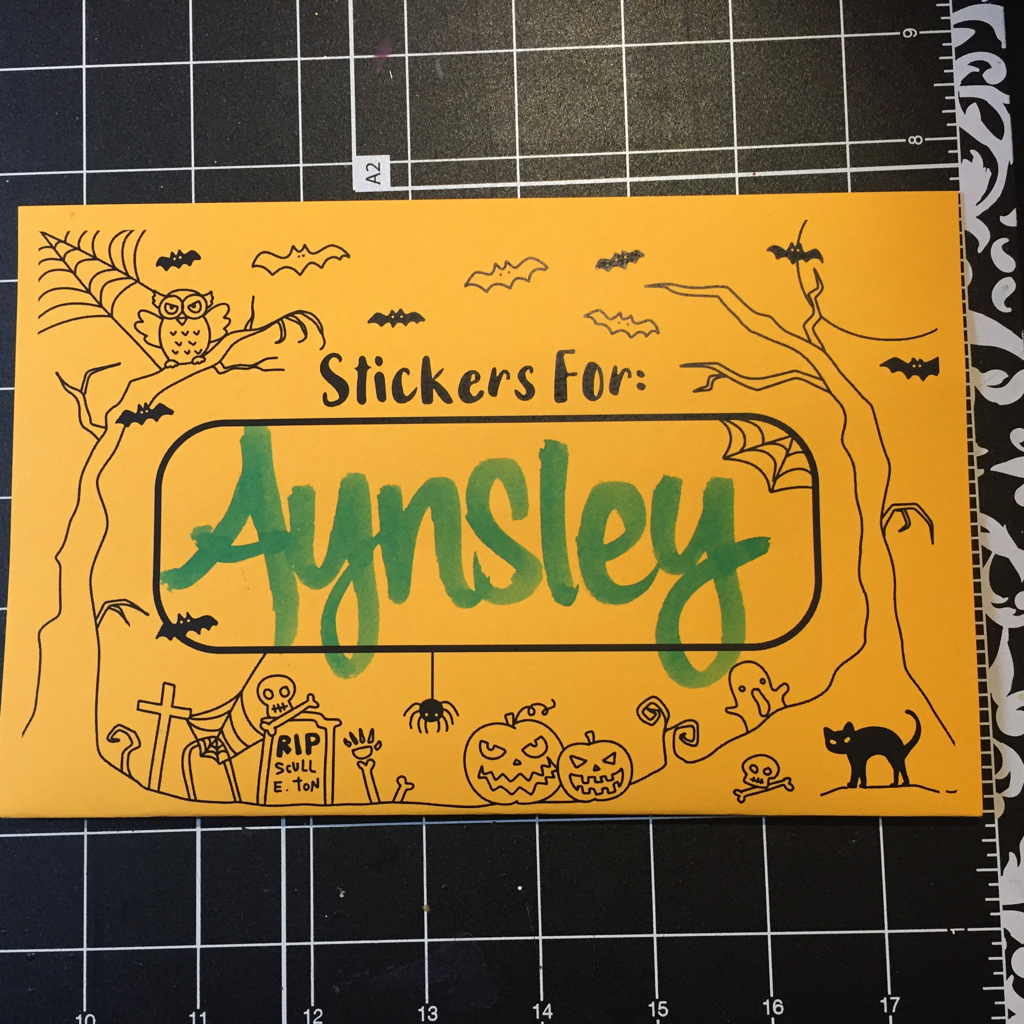
Aynsley
Happy Planning!
Aynsley


 RSS Feed
